Easy Social vs. Solitary Insect Craft for Kids | Hands-On Bee Activity for the Classroom
Looking for an easy insect craft for kids? This hands-on bee activity helps students learn about social vs. solitary insects while creating an adorable classroom display. Perfect for second grade science and CKLA insect units with simple classroom supplies and minimal prep.
Christina Henderson
5/23/20264 min read
Easy Social vs. Solitary Insect Craft for Kids
*This post contains Affiliate Links
My district uses the CKLA program for English Language Arts, and one of the units focuses on insects. My students always enjoy the topic, but some parts of the unit can feel a little dry. Because of that, I’m constantly trying to find hands-on ways to make learning more engaging and memorable.
One of the big concepts we covered was social vs. solitary insects. Even with tight schedules and academic expectations, I really try to prioritize simple activities that help solidify what we are learning in class.
Hands-on learning always makes such a difference for my students. If you enjoy interactive classroom projects too, you may also like my hands-on history craft here and my plant-focused science lesson here.
This bee craft ended up being the perfect activity because:
It used minimal supplies
It could be completed in one afternoon
It reinforced our insect unit
The kids absolutely loved it
It doubled as an adorable hallway display
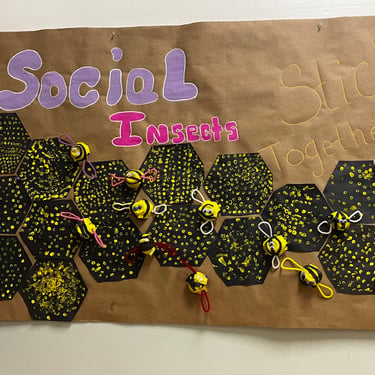
Creating Our Social Insect Hallway Display
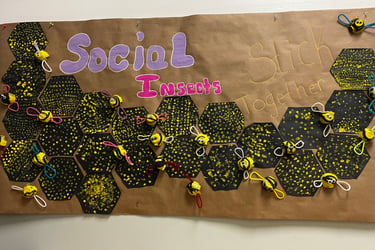
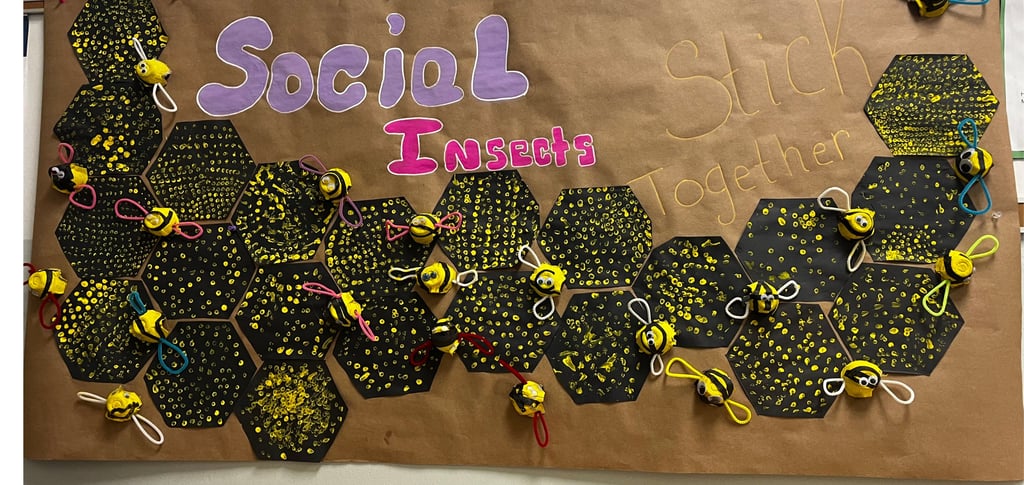
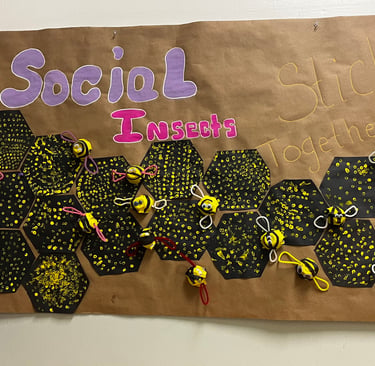
I decided to turn this project into a classroom display to reinforce the idea of bees being social insects. I made a simple banner at home and used the finished bees and hexagons to decorate the hallway outside our classroom.
You can absolutely skip the display portion if you want a simpler craft, but my students were so proud seeing their work hanging up in the hallway.
If you want to make your own classroom banners, check back soon for a blog with the full instructions on how I make mine!
Supplies You Will Need
Here are the supplies we used for this project:
Egg cartons — I saved mine from home, but you can also find affordable ones here
Yellow paint — I love using this washable tempera paint
Paint brushes — This classroom brush set has held up really well for me
Paper plates — These made cleanup SO much easier, and I love that they are compostable
Black construction paper — I recommend the larger classroom pack
Hexagon cut-out template — You can grab my free Canva template HERE
Glue
Googly eyes — I love that these come in a divided storage container
Hole punches — Trust me, having multiple hole punches saves so many arguments
To help contain the mess, I also use these cafeteria trays anytime we paint or craft. They make cleanup much more manageable.
If you want to see all of my favorite classroom craft and organization supplies, you can read my classroom essentials blog post HERE.
Prep Work That Makes This Craft Easier
Doing a little prep ahead of time makes this activity run SO much smoother.
Before class, I:
Cut apart the egg cartons so each student had one section
Pre-cut the black hexagons
Saved the leftover scraps of black paper for bee stripes
Honestly, cutting apart the egg cartons was harder than I expected, but it saved a ton of classroom time later.
Step 1: Paint the Bees
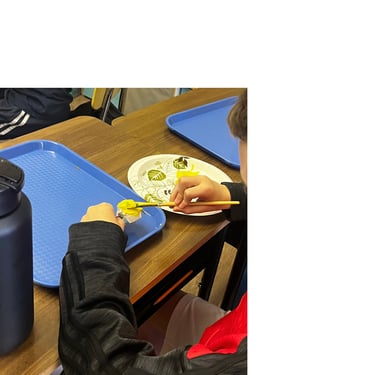
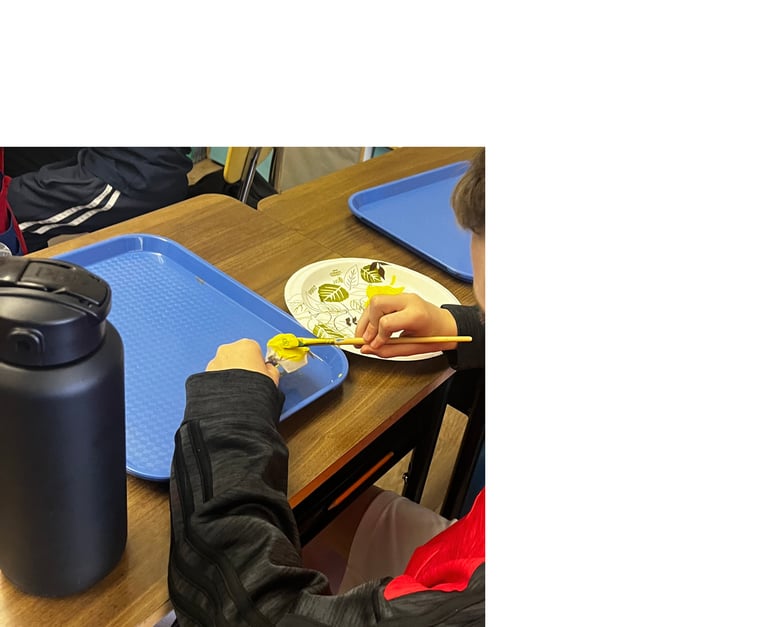
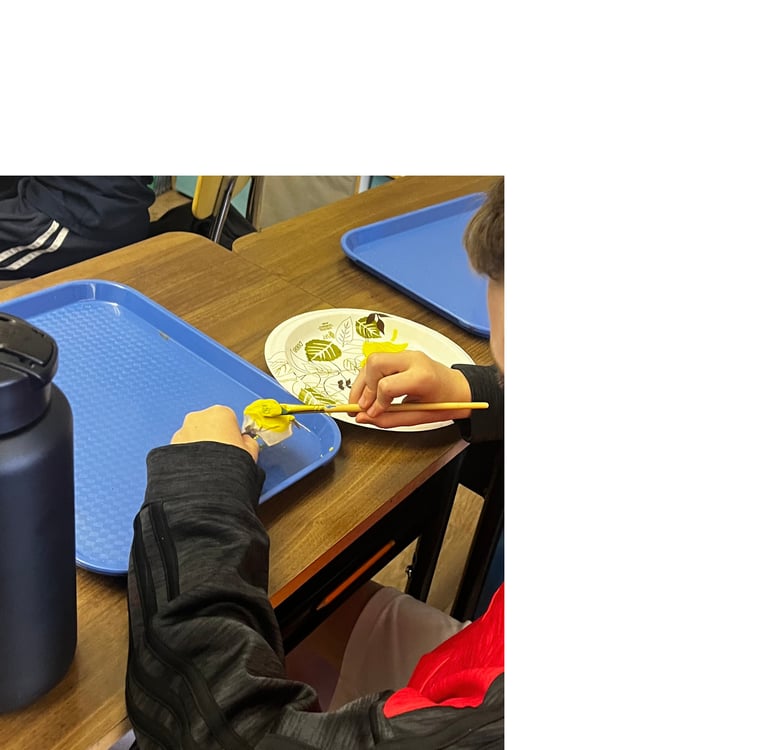
I gave each student one egg carton section and had them paint it completely yellow.
I like using paper plates for paint because washing out 25 paint trays takes forever. Being able to toss the plates afterward makes cleanup so much easier.
We set the painted bees aside on our cafeteria trays to dry while moving on to the next step.
Step 2: Create the Honeycomb Hexagons
Once the bees were drying, each student received:
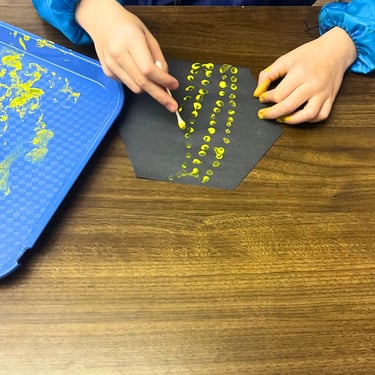
A black hexagon cut-out
A cotton swab
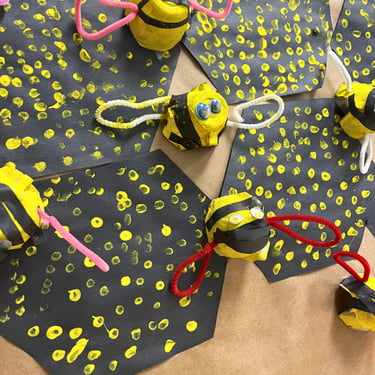
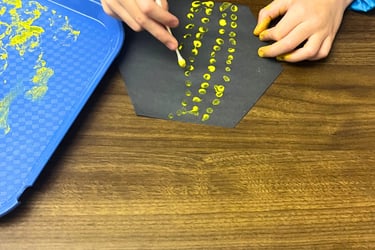
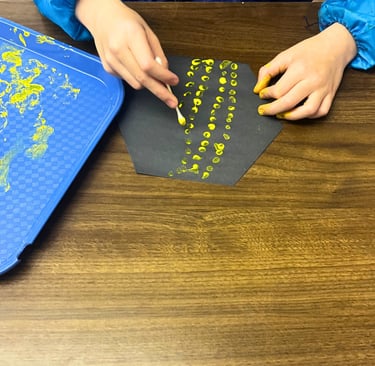
Students used the yellow paint to make dots on their hexagons to resemble honeycomb details.
I did encourage them not to overcrowd the dots because too much paint started to look messy. They really enjoyed this part of the project.
Step 3: Add the Bee Wings
Once the paint was mostly dry, we moved back to our bees.
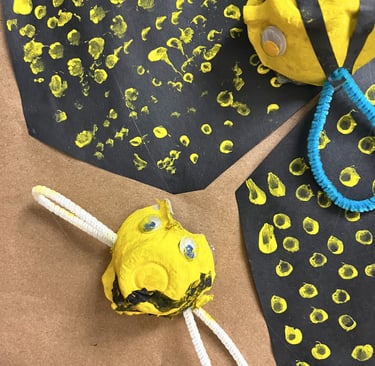
Each student used a hole punch to make two holes on each side of the bee. Then they threaded a pipe cleaner through the holes and folded the ends back in to create wings.
This part was surprisingly easy for students to do independently, which is always a huge win in second grade.
Step 4: Finish the Bees
Next came the fun part — decorating!
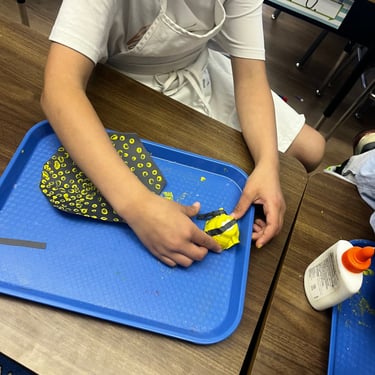
Students:
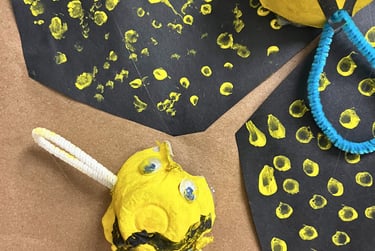
Glued on black paper strips for stripes
Added googly eyes
Finished any final details
Since my students are still little, I keep our glue bottles filled and ready to go. Having a large refill jug of glue in the classroom makes this much easier.
The kids loved their bees so much that many of them were disappointed they couldn’t take them home.
Putting Together the Hallway Display
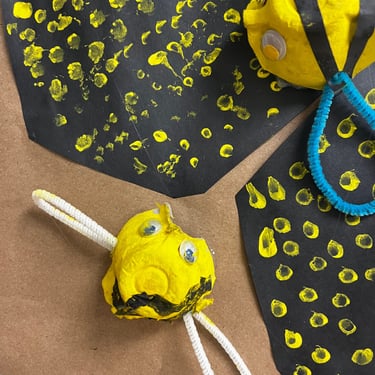
I used my homemade banner as the base for the display and attached the bees and hexagons using a hot glue gun so everything stayed secure.
You can see the exact glue gun I use in my classroom supplies blog post here.
The final display turned out adorable and really reinforced the concept of social insects working together in a hive.
Teacher Tips for Success
A few things that made this craft run more smoothly:
Prep as much as possible ahead of time
Pre-cut the hexagons and stripes
Set supplies out before students begin
Use cafeteria trays to organize each child’s materials
Save egg carton tops to use as paint trays
If you want to speed up supply distribution even more, you can fully prep each tray ahead of time and simply hand one to each student as they enter.
Final Thoughts
This ended up being one of my favorite insect-themed activities we have done. My students get SO excited anytime paint comes out, and honestly, I wish we had time to do projects like this more often.
I would love to hear if you try this craft in your classroom. Feel free to send me an email or share how it went for your students!