How to Make a Dice Snowman: Easy Winter Craft for Kids
Learn how to make a cute dice snowman with this easy winter craft for kids. This beginner-friendly DIY uses simple supplies and is perfect for classrooms or at-home crafting. Step-by-step instructions and supply links included.
Christina Henderson
12/9/20253 min read
DIY Snowman Shelf Sitters (Cute Winter Décor!)
These snowman shelf sitters are the cutest addition to your holiday décor—and the best part is you can leave them out all winter long! They have that cozy handmade look that works great with farmhouse winter décor, classroom displays, or craft fair booths.
Supplies
Here’s what I used to make mine:
Foam dice (I buy bulk white foam dice on Amazon)
Chalk paint (white + orange “pumpkin” shade for the nose)
Water
Plastic gallon bag
Optional embellishments: mini snowflakes, glitter, etc.
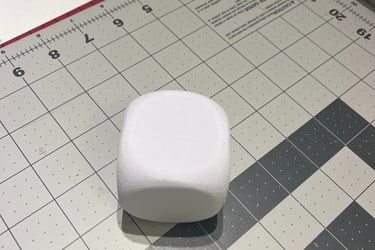
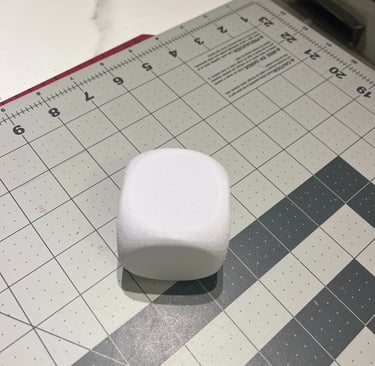
Step 1: Prep the Dice
I purchase my foam dice from Amazon in bulk because the price is great and they’re already white, which saves tons of painting time—perfect if you’re selling at craft fairs or making multiple sets.
Budget tip: Dollar Store foam dice will work too, but they need quite a few coats of paint to cover the printed colors. If you only need a few and don’t mind extra painting, they’re still a solid option!
Paint your dice with chalk paint (I prefer chalk paint because it gives great coverage). Let dry.
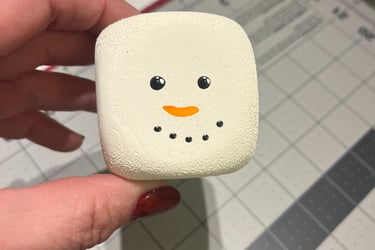
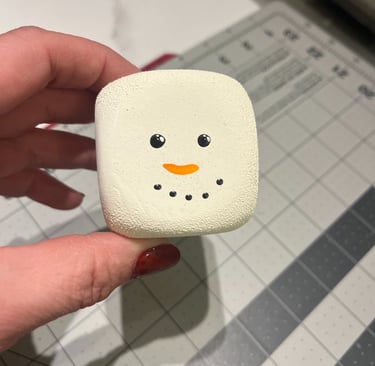
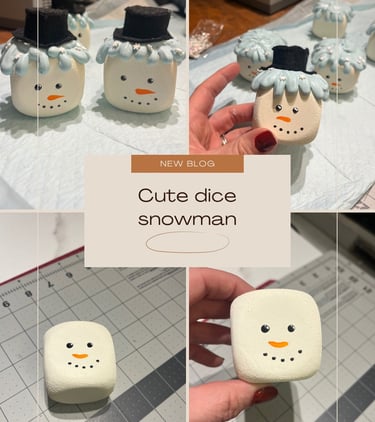
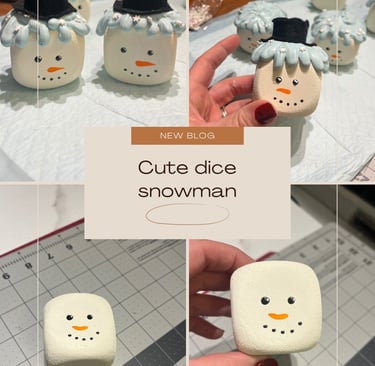
Step 2: Paint the Snowman Face
Next, paint on your snowman’s face. For mine:
I used chalk paint in a pumpkin shade for the carrot nose.
For the eyes and mouth, I used black puffy paint for that raised detail look.
Let everything dry overnight before moving to the next step so nothing smudges.
Step 3: Make Your Snow “Spackle”
For the snowy “icing” effect, you’ll need lightweight spackle (this part matters!).
I tested regular spackle we had at home and it cracked everywhere. Lightweight is the key to keeping it smooth and fluffy.
In a bowl, mix:
Lightweight spackle
A tiny bit of water (about 1 tablespoon)
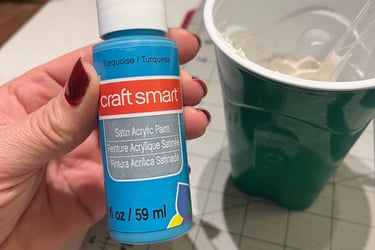
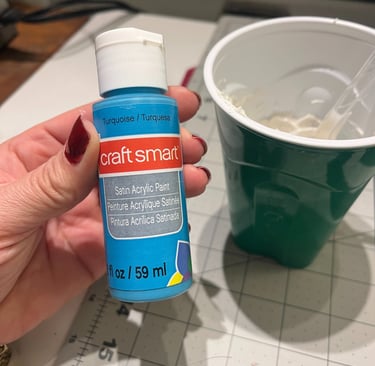
A dab of blue paint to color- Pictures show the color I used.
Stir until it’s thick — think whipped frosting, not runny.
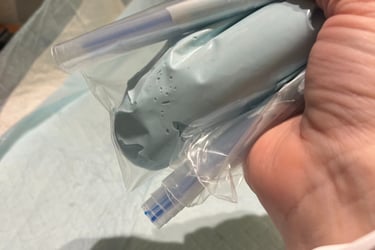
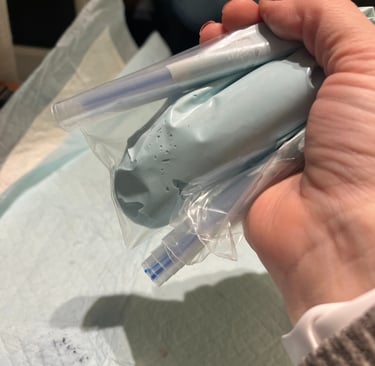
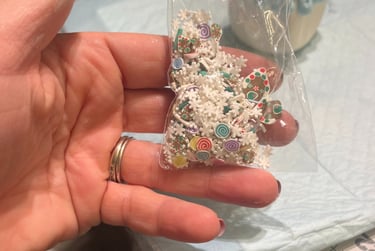
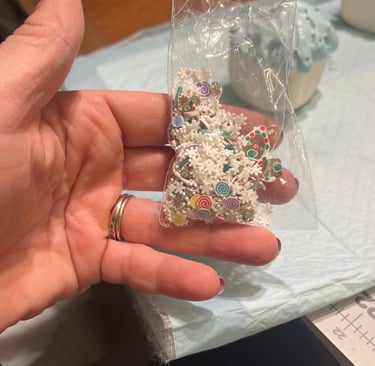
Step 4: Pipe the Snow
Spoon your mixture into a plastic gallon bag (or smaller if making just a few). Snip off a corner so you can pipe it.
Pipe the spackle on top of the snowman’s head. It will settle and drip a bit as it dries, so avoid going too far down the face.
Step 5: Decorate & Add the Hat
While the spackle is still wet:
Add mini snowflakes or embellishments (I found a great assorted pack on Amazon
Add your hat
For the hat, I made mine by:
Cutting a circle of floral foam
Covering it in black felt
Gluing it to a larger black felt circle for the brim
Glue the finished hat onto the top of your snowman.
Finished & Ready to Display!
And that’s it!
You now have an adorable winter snowman décor piece that can sit on shelves, tiered trays, mantels, classroom displays, or booths at craft fairs.
These make:
✨ Fun winter home décor
✨ Easy holiday teacher gifts
✨ Cute craft fair inventory
✨ Kid-friendly craft projects
Pin this for later so you don’t lose it! ❄️