Easy Cricut Classroom Sign Tutorial | Beginner Cricut Craft + Teacher Gift Idea
Blog post description.
Christina Henderson
1/13/20263 min read
Beginner-Friendly Cricut Classroom Craft
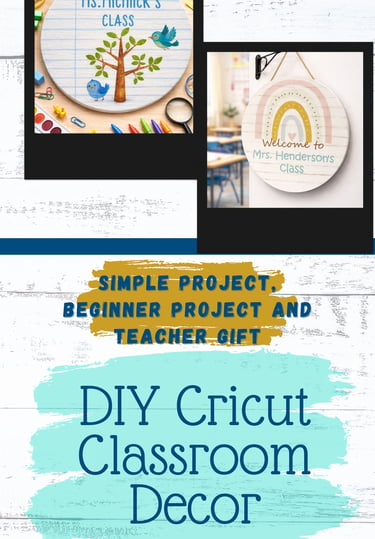
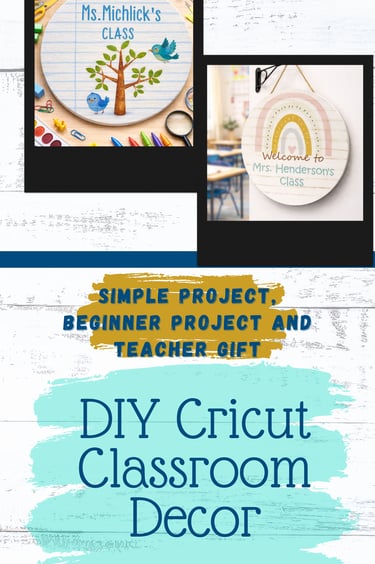
If you're looking for a quick and easy Cricut craft for the classroom, this simple wooden sign project is perfect! It makes adorable classroom decor, a thoughtful teacher gift, and it's great for Cricut beginners. You only need a few basic supplies—most of which you probably already have. Let’s jump in!
Supplies You’ll Need
A ruler
A piece of twine
Heavy-duty stapler
Fine sandpaper
White tissue paper
Printer
Transfer tape
Mod Podge
Iron
These simple supplies make this a budget-friendly Cricut project perfect for teacher appreciation, back-to-school, or everyday classroom decor.
Step 1: Prep + Base Coat
Start by giving your wood round a quick sand and wipe it clean with a dry rag. Prepping the surface helps the chalk paint stick and gives a smoother finish.
Apply one coat of white chalk paint and let it dry completely. To speed things up, I use a blow dryer with warm air. One coat gave me enough coverage, but feel free to add a second coat if needed. This creates the perfect base for a clean, school-themed sign.
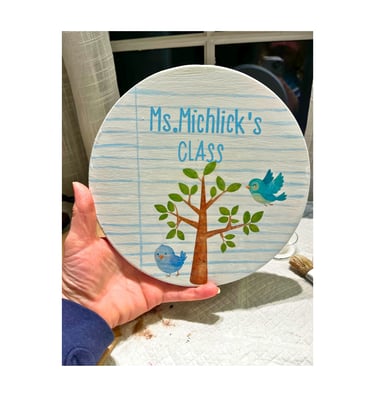
Step 2: Add the Blue Lines
Next, you’ll add the notebook-style lines that give this sign a classic school paper look. Measure how far apart you want your blue lines—mine are spaced ½ inch apart.
Mark both sides of the wood round and use a ruler to draw straight pencil lines. Then paint over your pencil marks with light blue chalk paint. This step gives the sign its cute classroom aesthetic, making it perfect for teacher gifts or door signs.
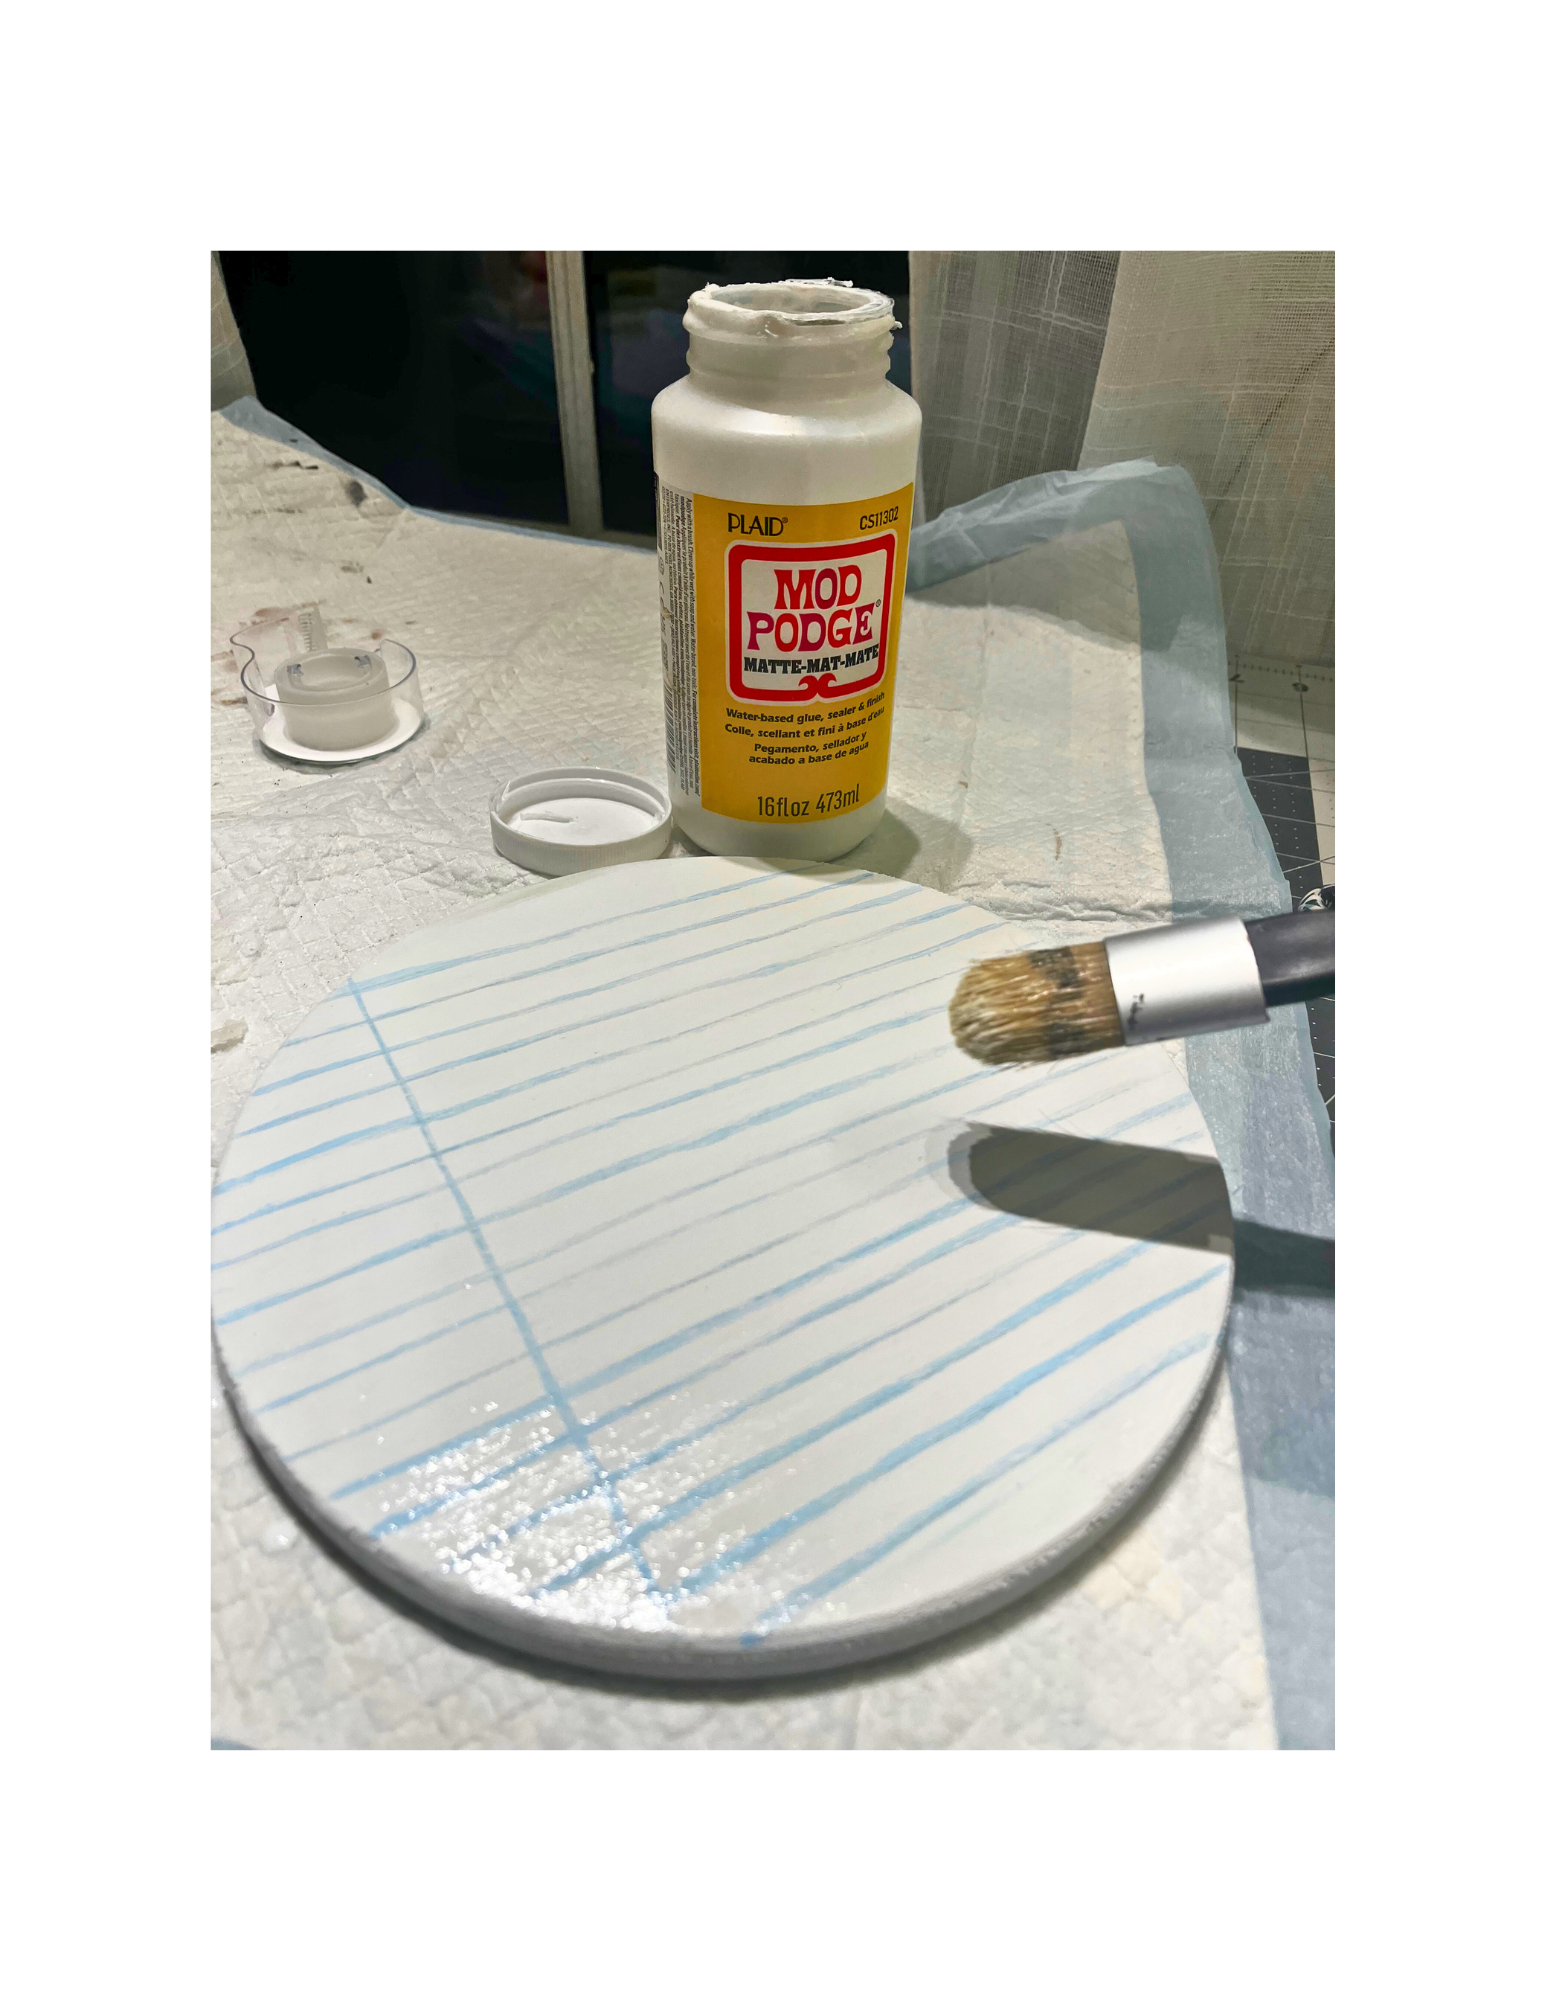
Step 3: Sand + Seal
Let the paint dry completely, then lightly sand the blue lines to give them a slightly distressed, broken look. I sanded more in some areas to soften the color and make it feel more vintage.
Once you like the finish, let everything dry and apply a coat of Mod Podge to seal the paint. This is what will make your image stick to your sign and makes it more durable for classroom use.
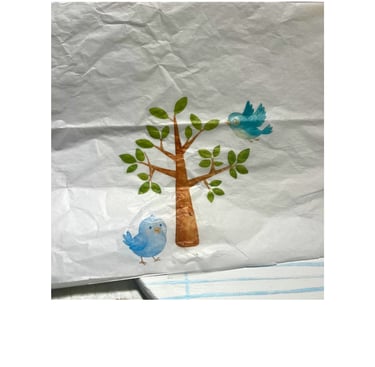
Step 4: Add Your Printed Image
For the rainbow design, I used Canva to find a background-free PNG, but you can use any image you like. Here's the tissue paper hack that makes this step so cool:
Cut tissue paper to letter size.
Tape it onto regular printer paper.
Print your image.
Peel off the tissue paper.
Cut around the image as close as possible.
Place your printed tissue image onto the wood sign and gently press it down with an iron. This trick gives you a smooth graphic without using printable vinyl—great for Cricut beginners who want easy results!
Step 5: Iron It On
Continue pressing with your iron until the image fully adheres to the wood round. This creates a soft, painted look that blends perfectly with the chalk paint.
Step 6: Add Your Cricut Vinyl Lettering
Now it’s time to personalize! Use your Cricut to cut permanent vinyl words or quotes for your sign. You don’t need to mirror the text for this step.
Using transfer tape makes it easy to apply your vinyl straight and smooth—perfect for DIY classroom signs, teacher name plaques, and custom school decor.
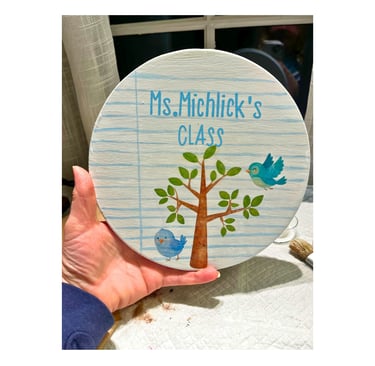
Step 7: Finish + Hang
Attach a piece of twine using a heavy-duty stapler and your sign is ready to hang! This DIY teacher gift turns out so cute and works for:
✨ Teacher appreciation
✨ Classroom door signs
✨ Back-to-school gifts
✨ End-of-year gifts
✨ Classroom bulletin board decor
It’s simple, affordable, and totally beginner-friendly—no fancy Cricut skills required!
Why This Project is Great for Beginners
This craft is perfect if you’re new to Cricut because:
✔ Minimal tools needed
✔ No complex design software
✔ No layering vinyl
✔ Only basic cutting + transfer skills
✔ Classroom-friendly and giftable
If you’re looking for Cricut projects for beginners, this one checks all the boxes.